
Shop writeup
Hyundai IONIQ 5 motor replacement
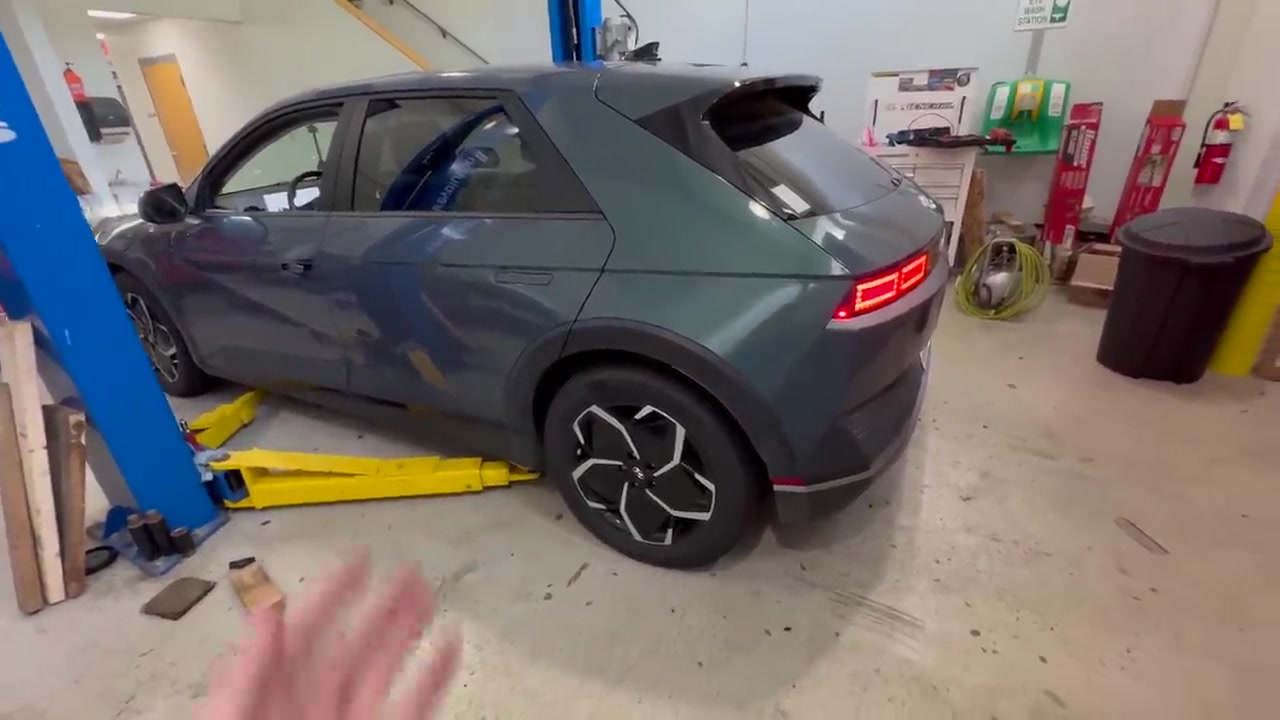
This is the first eGMP car I've done major servicing on. This particular example is a 2022 IONIQ 5 RWD with about 153,000 miles (putting it well out of warranty). The customer complaint was that it would shut down while driving, usually when it was hot out. Typically it would come back to life after a key cycle.
The dealer’s diagnostics called for a drive-motor replacement, to the tune of about $8,000. Historical code was a P0A65: drive motor A phase W current high.
Watch the full walkthrough on Out of Spec Renew →
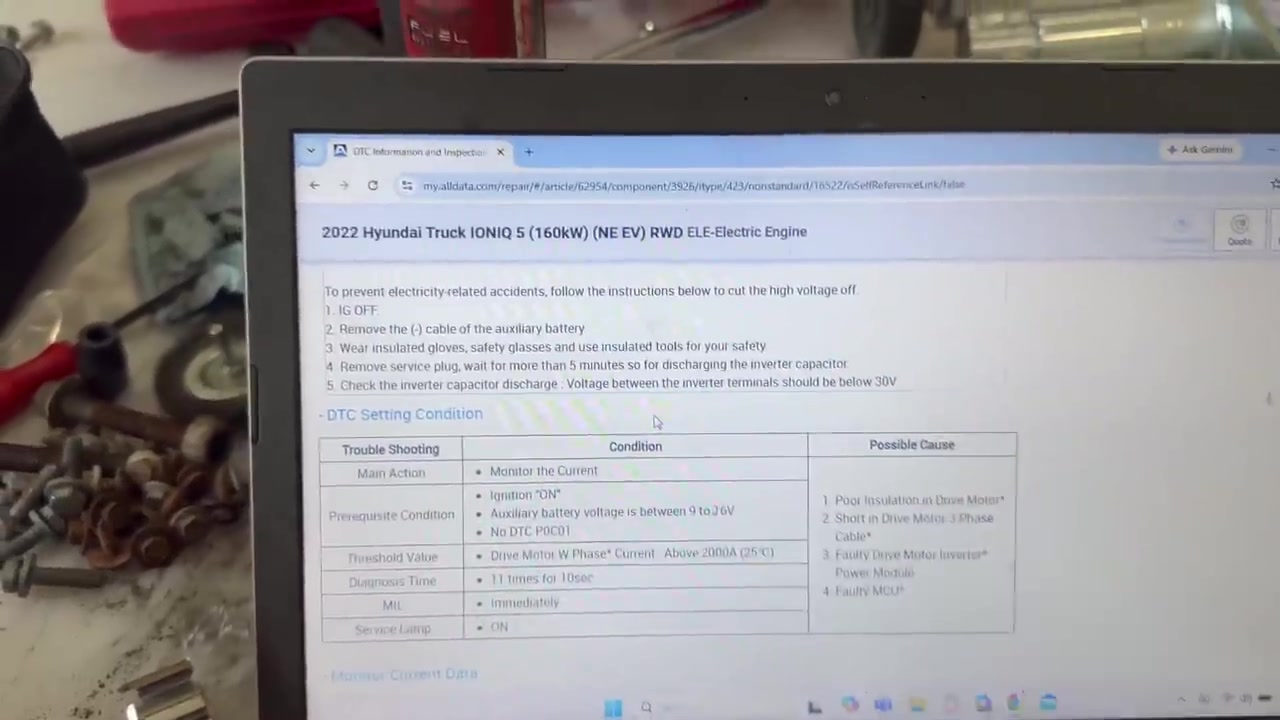
What triggers this fault
The trigger for this fault is if the drive motor W-phase current is measured at above 2000A for more than, 11 frames in 10 seconds, which will cause the MIL immediate and the vehicle to shut down. Listed possible causes in service data are: poor insulation in the drive motor, a short in the motor 3-phase cable, a faulty inverter power module, or a faulty MCU (complete drive-unit assembly).
There is no 3-phase cable on this car, but rather direct bus bars straight from inverter to the motor. There were no insulation / isolation faults either, so we at least know there's no short to the case (though there could be between phases). Could also be a faulty current measurement too, but I didn’t tear the old unit down in this video, so I’m not calling a root cause. Best guess though is that with the symptoms being most common in high temps, some sort of insulation breakdown seems most plausible.
The replacement
I sourced a low-mileage complete drive unit from a dismantler with under 10,000 miles. The plan is to drop the rear subframe, swap the unit on the table, put it back.
First steps of course are to disconnect the 12v, then the HV service disconnect. Also make sure before the car is powered off to manually disengage the parking brake on the rear calipers since they will need to be taken off. First-time E-GMP mistake: I powered the car down before opening the hatch. Had to reconnect, pop the hatch, then get the trunk floor panel off so I could disconnect the charge-port HV. On these, the onboard booster low voltage DC charging runs through the motor, hence why the charge port connects there.
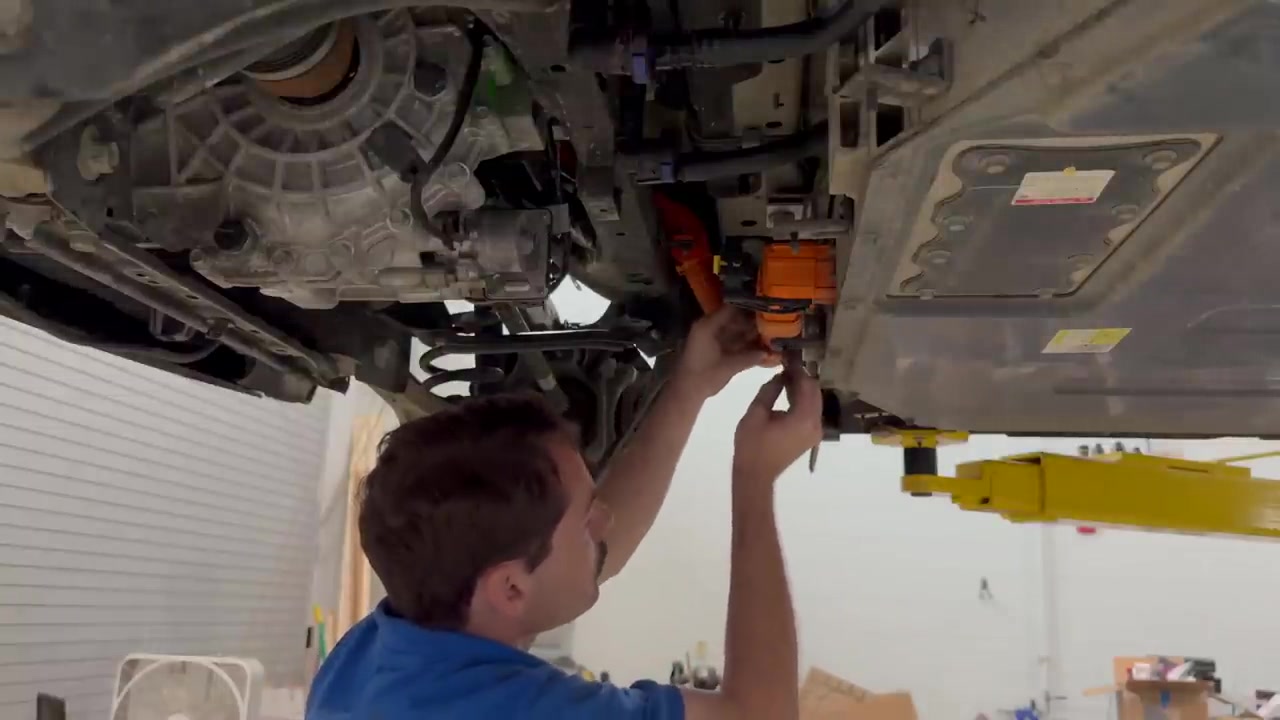
With the car up in the air, there are two coolant lines to disconnect, a HV connector at the battery, a LV connector, and a ground strap on the frame rail. Then we have to disconnect the shocks from the lower control arms, and unbolt the brake calipers. Next I positioned my lift table under the subframe, and removed the four 19 mm fasteners to drop the whole rear subframe as a unit.
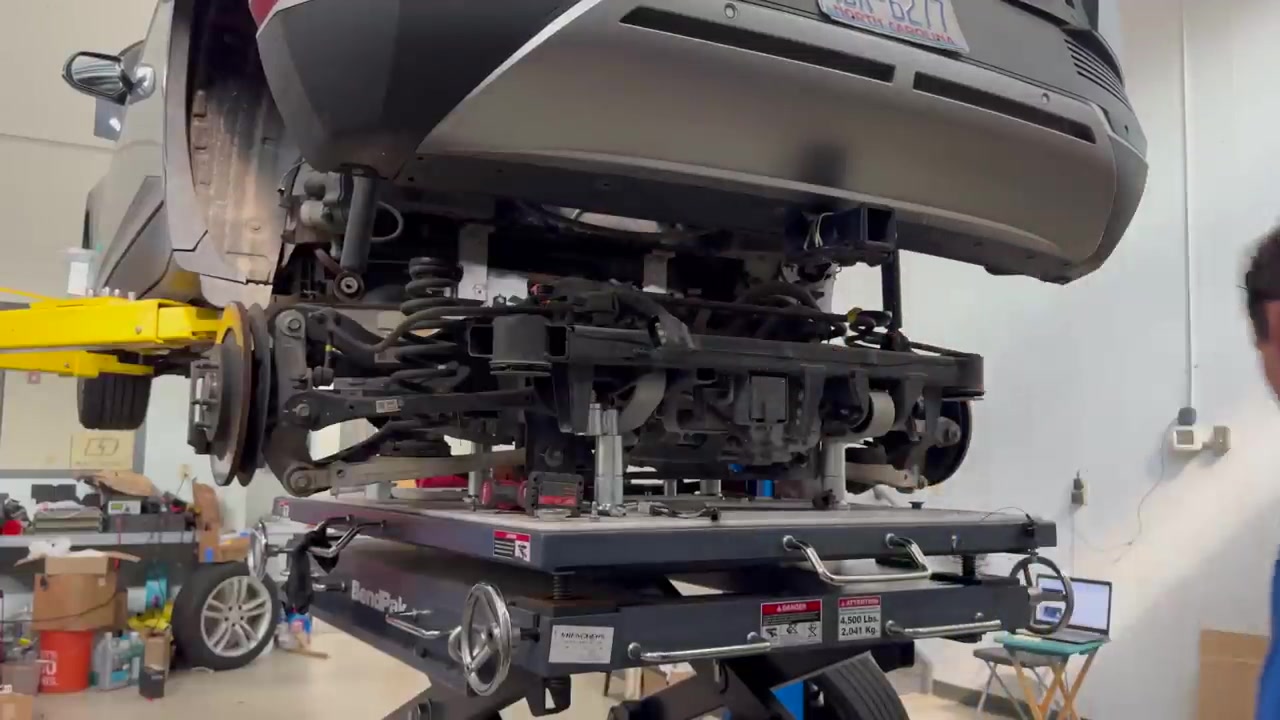
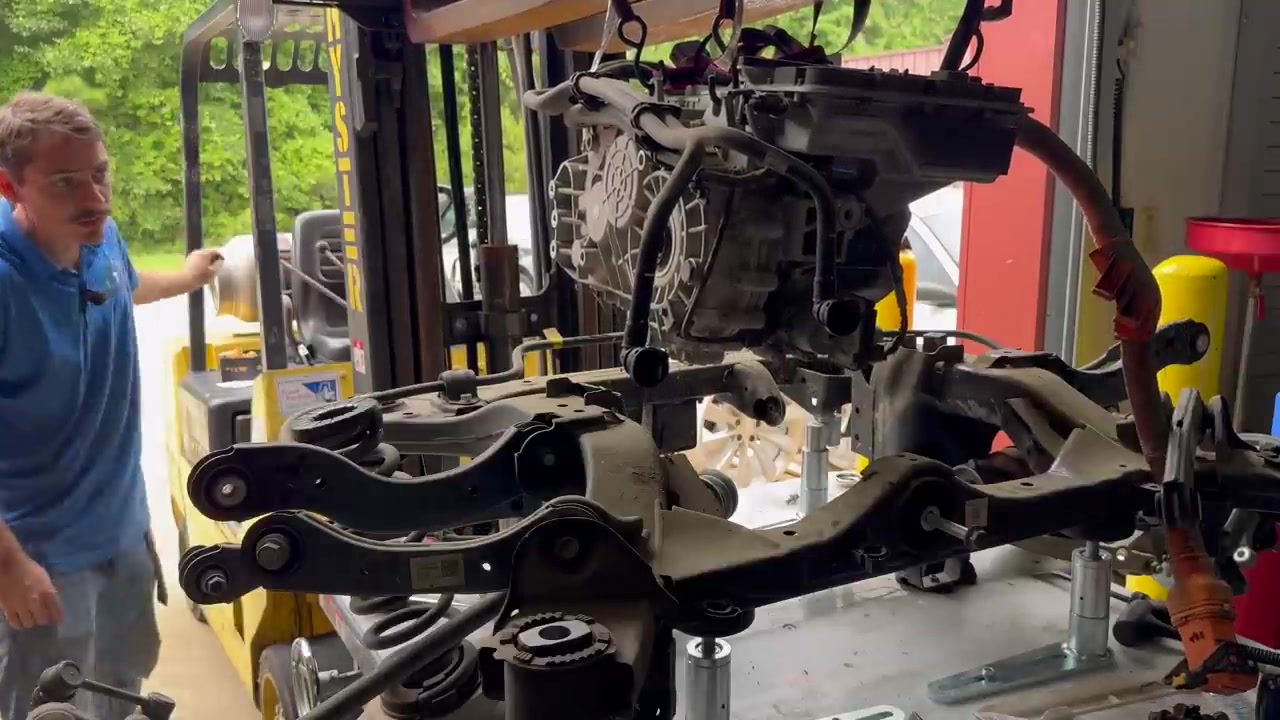
An interesting thing I noticed is that there are no axle nuts. The axle is integrated with the wheel bearing, so they’re not independently serviceable. To get the axles disconnected from the motor side I unbolted some of the upper control arms so the knuckle could pivot down and out with the axle attached. One side has an extension shaft and bearing that unbolts; the other just pops into the gearbox on a circlip.
I used a forklift and straps to support the old drive unit in preparation to remove it from the subframe. Once supported, I could unbolt the drive unit from the subframe, and lift it straight out.
Going back together
Now the new drive unit goes in, pretty much just the reverse of removal. Once the motor is in the subframe, it's time to lift it back up into the car. Getting the rear tapered studs and the coil-springs lined up is important, but not too difficult to achieve. Once everything is lined up, suck the four corners up a little at a time.
HV cables get plugged back into the battery. Don’t use the locking lever to suck the connector home; you can put a lot of stress on it and break it, so make sure the connectors are clean, and to help push it into place. Next comes the connecting the coolant lines and the LV connector; then tightening the shocks with the springs compressed to ride height, calipers. Lastly I can plug in the wheel-speed sensors, charge-port HV in the trunk.
First boot
Now comes the time to reconnect 12V and the HV service loop and power everything on. On my first boot, I ran into an interlock fault as the HV connector on the battery wasn't fully seated. After seating it, the car started with no issues and goes into gear and moves.
Now comes an electric water-pump bleed procedure, which takes about 30 minutes. Once everything is sorted for a test drive, I brought it out of the shop, and started the resolver offset calibration with my Autel: this triggers a “Check EV system” message on the dash, and the procedure calls for driving at 20–50 km/h. At some point there will be about a two-second motor cutout, then the message on the dash will clear, and that indicates the resolver offset is learned. I'm not certain this step is necessary since the motor and inverter should already be paired, but it only takes a minute to do and will ensure everything is operating properly.
I should mention that off camera I also drained and refilled the drive-unit's oil. Hyundai and Kia don’t put magnetic drain plugs on these motors, and I always opt to install one whenever draining and refilling the oil (it's the same size as those used on the rear differential of many Toyota trucks and SUVs). Gear-reduction fluid is worth changing on any EV you plan to keep, every 50 to 100 thousand miles.
If you’ve got an IONIQ 5, EV6, or any other eGMP car that’s got an issue, get in touch!