Shop writeup
Tesla Model Y rear drive unit replacement
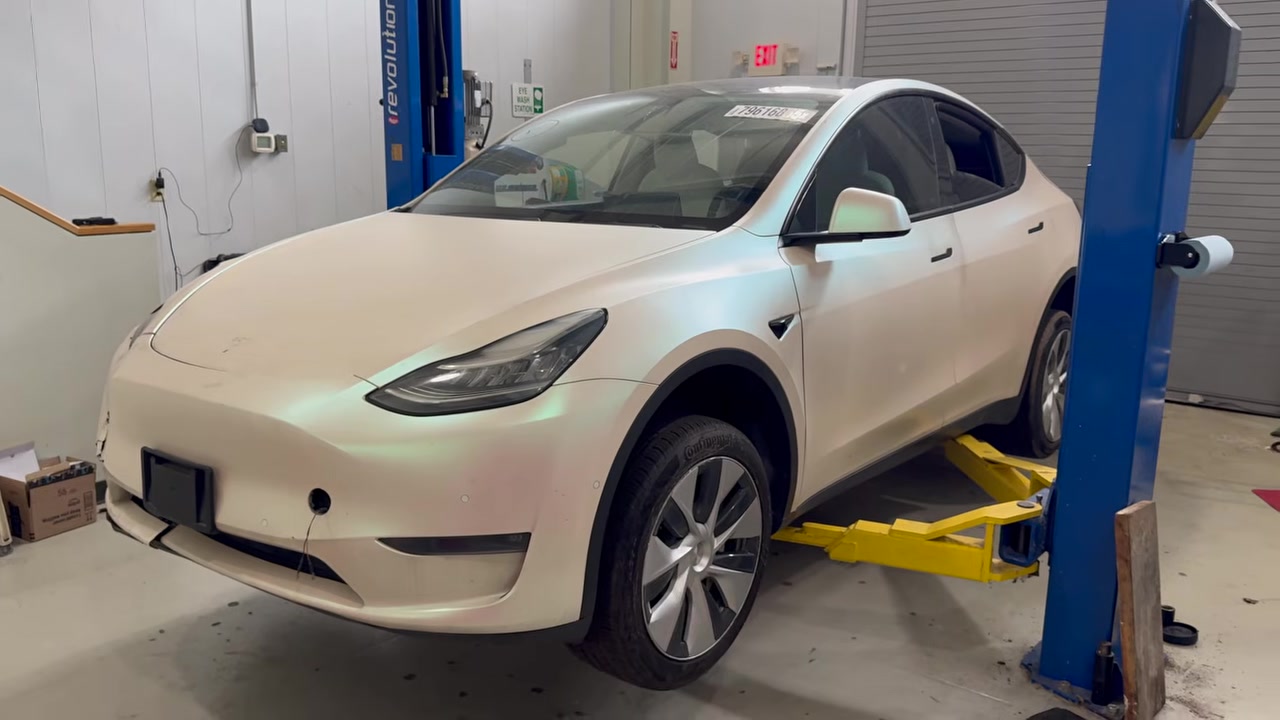
I don’t particularly like working on wrecked cars, but in some cases I’ll make exceptions. This particular example is a 2020 Model Y the customer bought from a salvage auction. Passenger side was smashed pretty badly, along with subframe and suspension damage, a cracked wheel, and multiple airbags deployed, but there were no high voltage system faults. Bodywork, airbags, glass, and the front suspension were not the job here for me though; next stop for this one is a body shop. What I was actually here to do is replace the rear drive unit and subframe.
Watch the full walkthrough on Out of Spec Renew →
Why the drive unit was toast
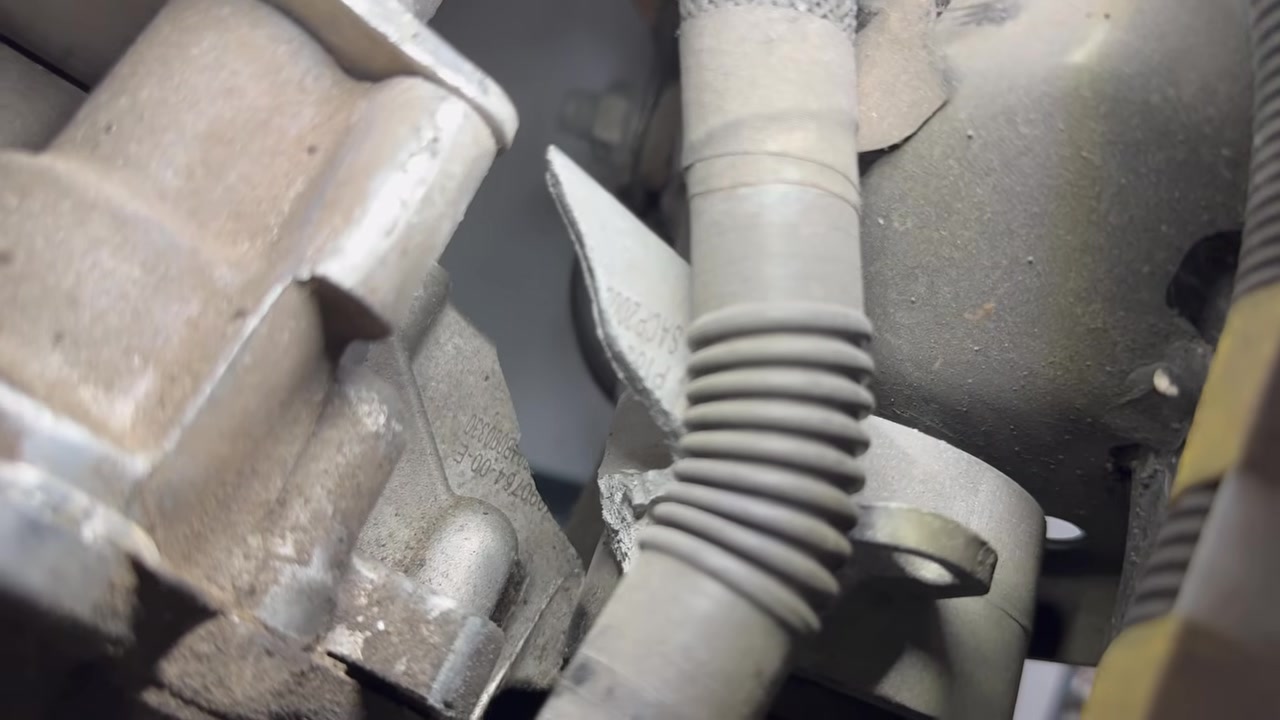
The rear-most motor mount was physically broken off. That’s pretty common on Model 3/Y if they’re in a collision where the wheels stop suddenly, or they take a hard hit in the rear. When you try to put the car in gear, the rear motor spins without being engaged with the wheels and just makes all kinds of horrible noises. There was also oil on the underside of the gearbox, either from the case halves or a crack I couldn’t see yet. Anyway, the drive unit’s toast.
Passenger rear lower control arm looked like it had been bent, pulled off, and torch-straightened before auction (pretty common reseller tactic to make the car look better in photos). Both inner CV boots were torn, and one rim was cracked but still holding air. Spinning the wheel later, the axle shaft turns but the inner CV cup does not, so that explains the noise and why there was no motive power from the rear. Even if the axle were the only noise, the sheared mount still means the drive unit has to come out. There’s no fixing that without taking the housing apart and trying to TIG weld it, and that’s probably not worth it.
The replacement
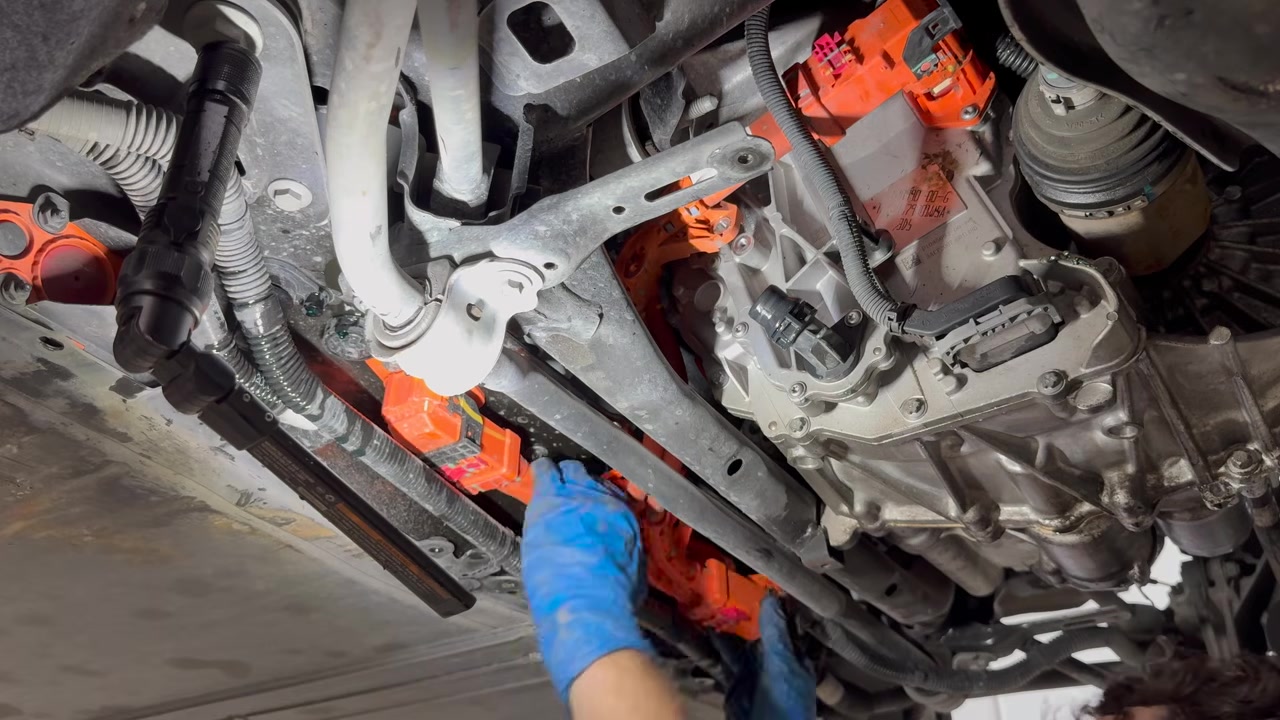
The customer sourced a used 2023 Model Y rear drive unit and subframe from a dismantler I already use. Used complete units are pretty cheap; a fairly low-mileage one is around $1,500. The plan is to drop the whole rear subframe and drive unit, swap it on the table, and then put it all back together.
First steps of course are to put the car in tow mode so the rear wheels free-roll, then get it into Service Mode Plus. Parking-brake service mode further retracts the calipers, and coolant fill/drain opens the valves so we can drain. 12V negative comes off and the first-responder loop unplugged (on a Model Y that’s in the frunk; some Model 3s use the under-seat pack connector instead).
With the car up in the air, there are two coolant hoses to drain, the subframe harness to unplug, a ground strap, and the HV cable into the traction inverter. I unbolt and hang the original calipers so I can reuse them and skip a brake bleed later. Then the lift table goes under the subframe, four main bolts plus the two in each shock, and the whole rear drops as a unit.
An interesting thing I noticed on the table is you can actually see the mount sheared right through the part number. On the donor, I cut the wrecking-yard seat-belt lift straps and pulled the donor calipers. Parking brakes were still locked; I reverse the donor servos with an M12 battery (reverse polarity) to back them off, then steal one servo because the original cover was busted off. Donor shock boot was damaged, so I swapped the old passenger shock over (same part number both sides). Dismantler had also cut a wiring pigtail, so I unplugged the car-side end and reused the original HV cable.
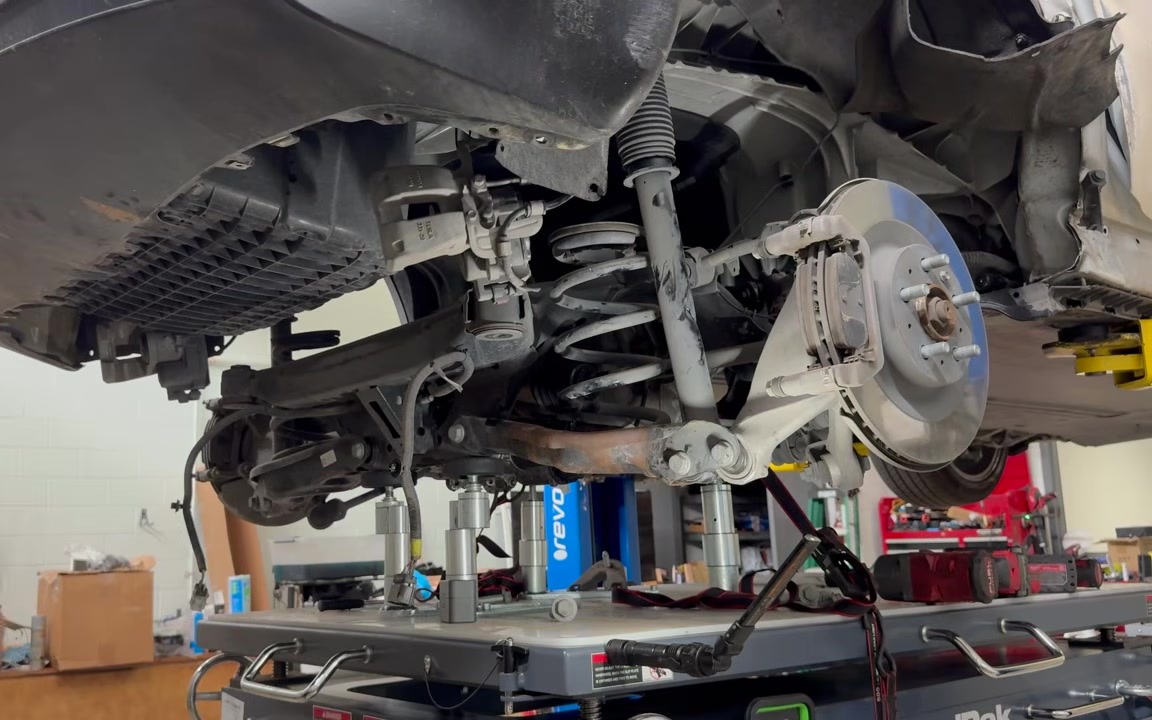
Going back together
Now the new subframe goes in, pretty much just the reverse of removal. Four main bolts, shocks, then reconnect everything. Next comes vacuum-filling the coolant; this is an important step and should be done before booting up the car until it’s full, otherwise the pumps will run dry and can get damaged. Once that’s finished, the first-responder loop and 12V can be reconnected, and a LV power supply as well for the programming.
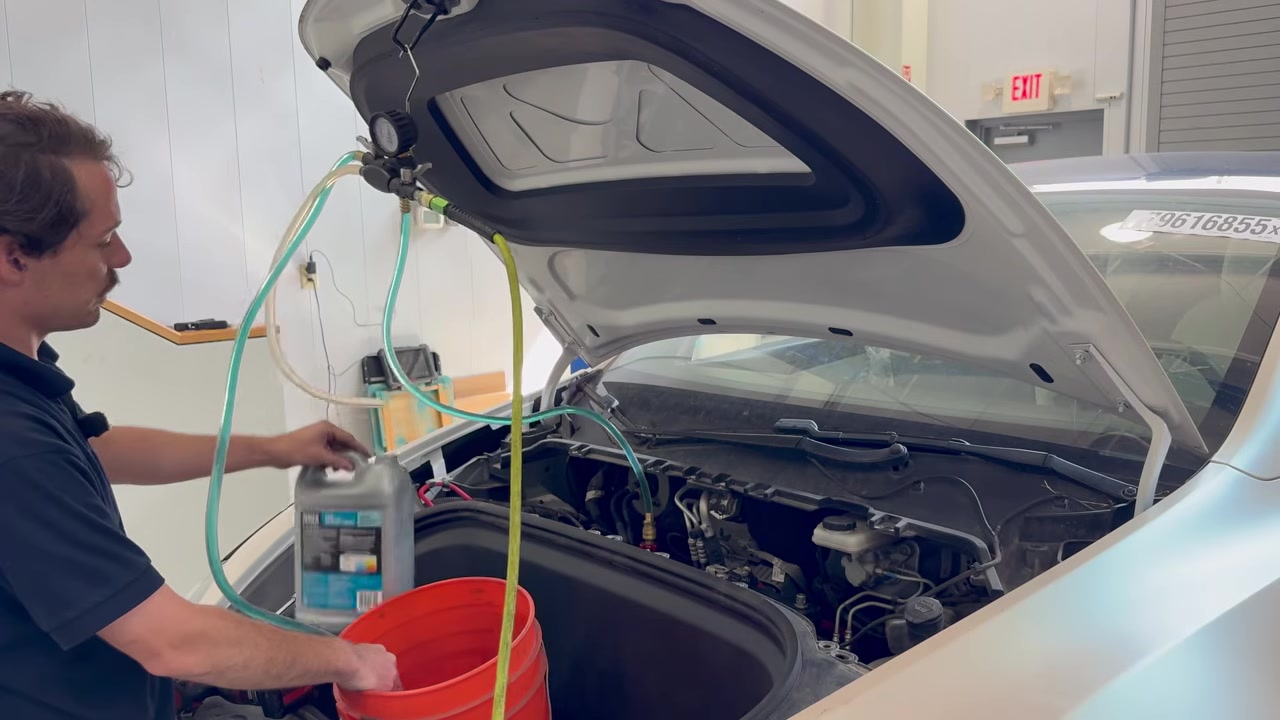
First boot
Now comes the time to get back into Service Mode Plus and run the after-swap list: stop coolant fill/drain, write drive type, CAN redeploy over Wi-Fi, pair the immobilizer, then coolant air purge. I usually like to run a thermal system test as well, and surprisingly for how smashed up this car is, the test actually passed. On HW3-era cars, once you’re in Service Mode Plus you don’t even need Toolbox for those procedures the way you do on legacy S/X (you do still have to authenticate with Toolbox to get into Service Plus, but the steps themselves can be run on the screen).
Since I won’t be driving this at any kind of speed on the cracked wheel, I just took it for a very short test drive around the parking lot, and that wraps things up!
If you’ve got a Model 3 or Y with a powertrain or HV related issue get in touch!
Video: This Tesla Model Y Is One Of The Most Damaged I've Ever Repaired →